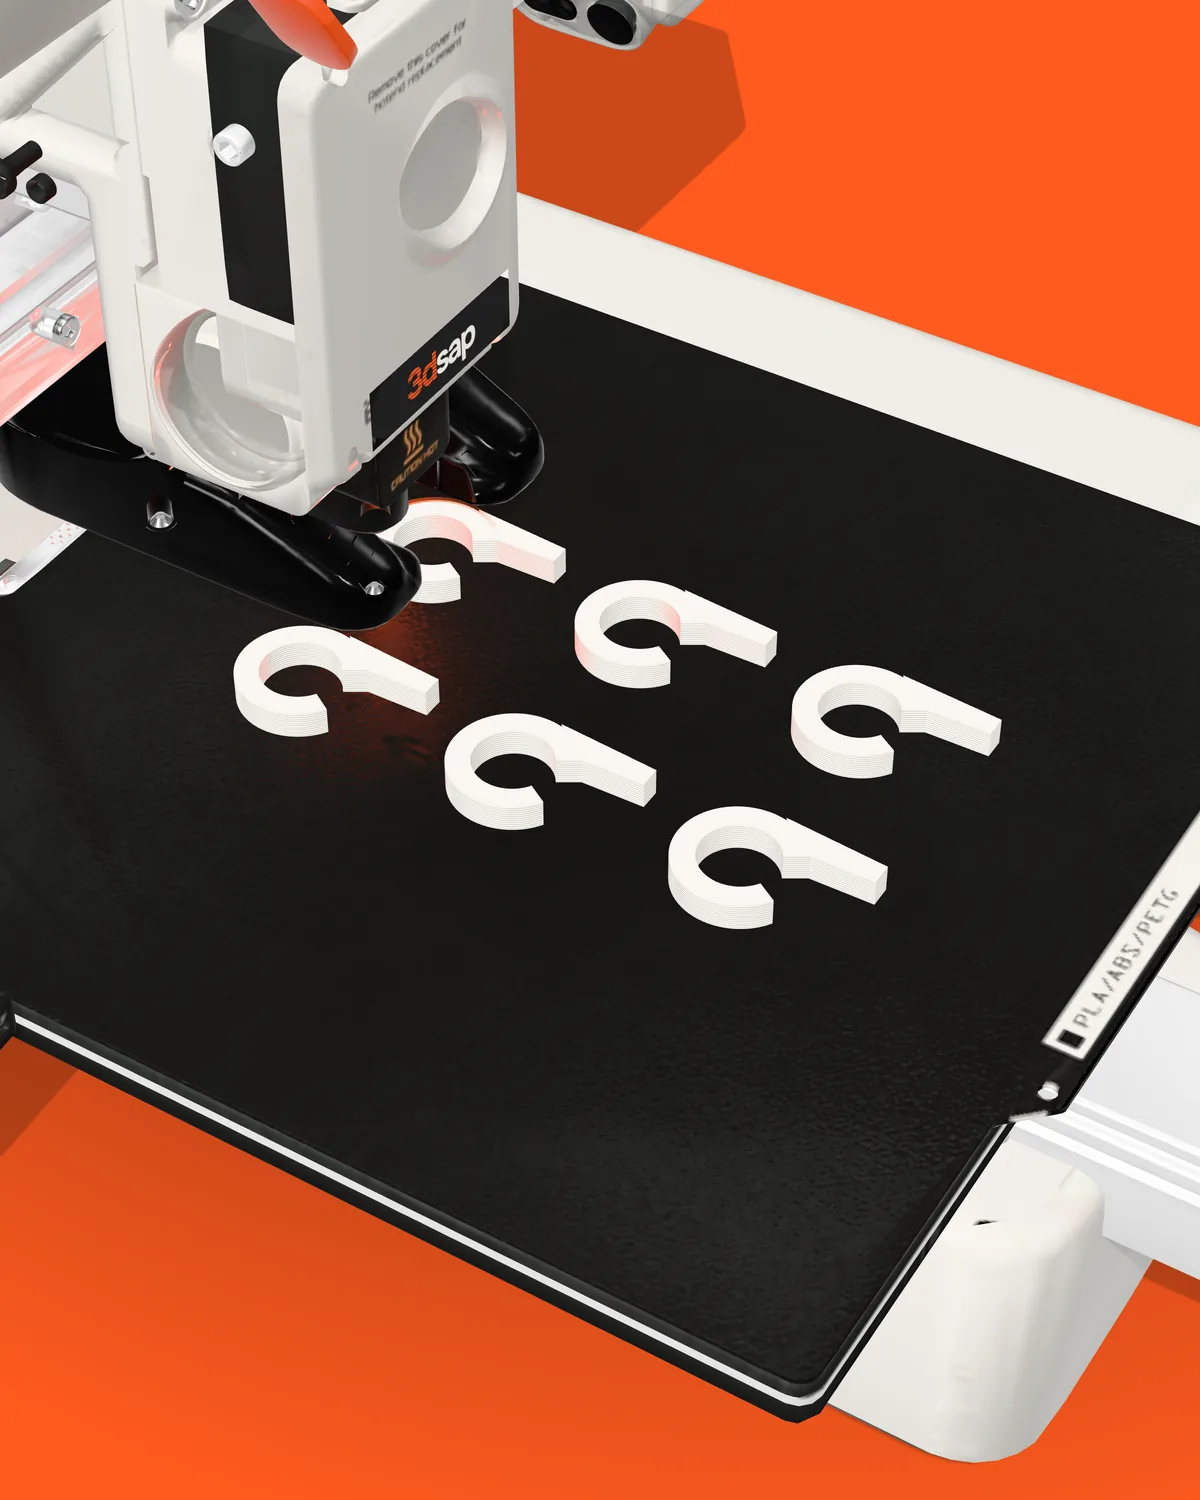
How a 3D printer works: one vase from file to last layer
The slicer sets the walls and layers, and the printer lays them down line by line. Whether a 3D printed vase holds water depends mostly on the walls and the seam.
Read the article
A printer works from a 3D file, not a photo. Three ways to get one for your broken part: find a ready-made model, design a simple one in free software or hire a designer, plus what to measure so it fits.
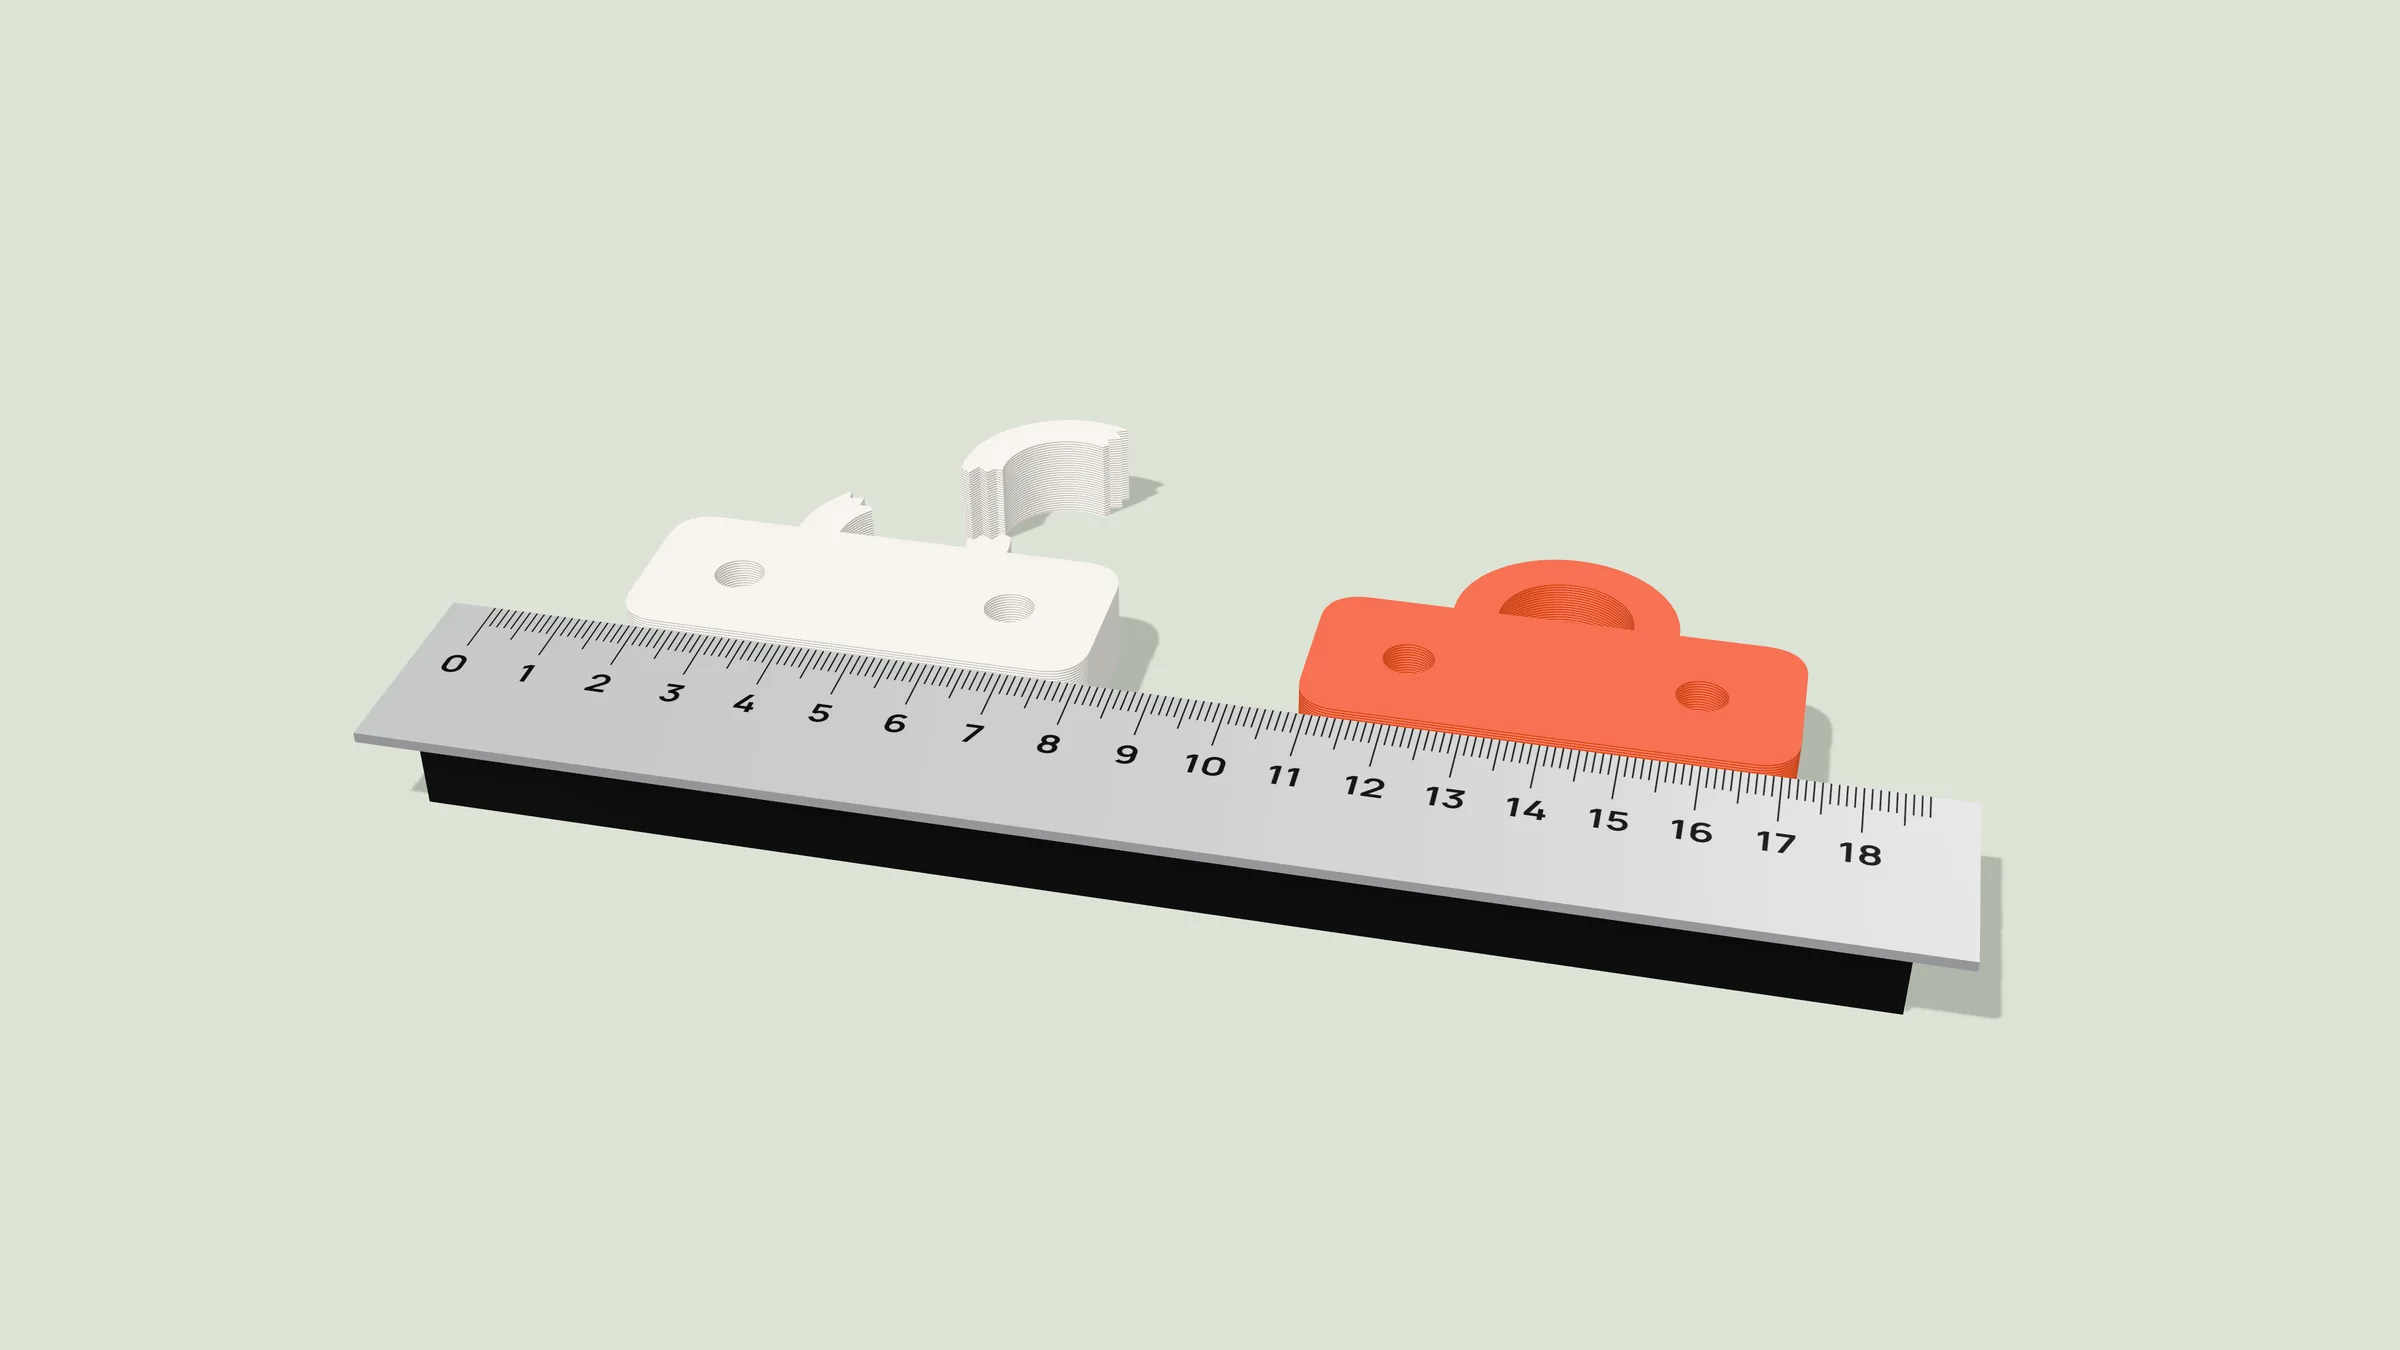
To 3D print a broken part, you start from a 3D file: a printer doesn’t print from a photo but from a model in which every wall and every hole is sized in millimeters. If you don’t have that file yet, there are three ways to get one: find a ready-made model, model it yourself if the part is simple, or have a designer make it. You send us the file, and we print the part.
The printer runs a file made by a slicer: a program that reads the 3D model (STL, 3MF, STEP or OBJ) and slices it into layers, 0.2 mm in our case (see what the slicer does).
A photo is flat: it shows the outline, but not the depth, the wall or the hole. A ruler in the frame gives scale only in its own plane: according to the SWGDE guidelines for photographing evidence, anything off that plane can come out larger or smaller. So a photo is input for the person who builds the model, not for the printer.
AI can now make a 3D model from a single photo: MakerWorld’s MakerLab offers Hunyuan 3.1, Meshy 6 and Tripo AI 3.0 for this. The author of a Fabbaloo article tried the earlier Hunyuan model and found it good for organic shapes, but warns not to expect precisely dimensioned mechanical parts. Such a model works for a figurine, but not for a clip that has to snap into place.
Many spare parts have already been designed and shared as free 3D models. The biggest libraries are Printables by Prusa Research, MakerWorld by Bambu Lab and Thingiverse (compared by Makers101). Yeggi and 3dsearch.net search many sites at once, and the latter covers over six million models.
Before you send us the model, check two or three key dimensions against your part. Also look at the license on the model’s page: by sending us the file, you confirm you have the right to print it, because it’s yours or its license allows it.
You need these measurements to check a ready-made model or to design a new one. Measure in millimeters:
When you 3D print a broken part that clips on, the wall and the gap matter most: a small difference there decides whether the part holds. An ordinary digital caliper reads to 0.01 mm with an accuracy of ±0.02 mm and measures outside, inside and depth; a ruler reads to 1 mm and is only good for the overall dimensions.
Measure everything twice. If the broken part has an intact counterpart, such as the left clip when the right one broke, measure that one and say whether the two are mirror images.
Parts that fit into each other
Such parts aren’t modeled to identical dimensions: a 10 mm peg with 0.1 mm of clearance on each side goes into a 10.2 mm hole, and the right clearance depends on the printer, the material and the print orientation (UAL Creative Computing Institute). So when you note down measurements, say whether each one belongs to the part itself or to the hole it goes into.
A clip, a cap, a washer or a box takes only a few basic shapes to model. Three free programs:
A photo helps here too: shoot the part from above with a ruler level with its top face, import the photo into your sketch, scale it by one known dimension, trace the outline, extrude it to the measured thickness and export in millimeters. That’s how a maker on Hackaday.io modeled a part for his Pontiac G6 convertible, a car that is no longer made, in Fusion 360 and checked it with several test prints.
If you’d rather not model it yourself, a CAD designer can model the part from photos and measurements. That’s a separate job from printing, and you agree its price with the designer. Give them:
Ask for the model as a STEP file, which is easy to edit later, and as STL or 3MF for printing.
To have us 3D print a broken part, send the file through the form on our Contact pageand choose the topic “Custom prints”: up to 5 files, 20 MB max each, as STL, OBJ, 3MF or STEP. You can add photos of the old part (JPG, PNG, HEIC) or a PDF drawing, so we can see where and how it fits. STL files don’t store units, so write “in millimeters” next to the file.
We print on two printers: the Bambu Lab A1 , with a 256 × 256 × 256 mm build volume, and the Bambu Lab A1 mini , with a 180 × 180 × 180 mm build volume and the AMS lite, which allows up to 4 colors in one piece.
The choice of material depends on where the part will sit: for sun and bathrooms, PETG is better, while PLA is fine indoors, away from sun and heat. The difference is the temperature at which each one softens:
Long direct sun changes PETG slowly: after months, light and transparent colors can yellow, while dark, solid colors keep their color much longer (3DJake). In lab tests with strongly accelerated UV exposure, PETG loses some of its strength. In one test, clear PETG with no pigment lost 36% of its tensile strength and pigmented PLA 5.3%, while the stiffness of both stayed the same (Amza et al., 2021). In another, PETG’s loss was moderate (Kohutiar et al., 2026).
If the part will sit outside in strong sun or in a car, say so in your request and we’ll tell you which material will last longest.
We reply within one working day with the price, timing, delivery and payment method; production time depends on the part. You pay nothing until you accept the offer, which is valid for 14 days. We ship by courier anywhere in Bulgaria, and in Sofia we can also bring the part in person. See also what drives the cost of 3D printing.
Only we see your files. If a request doesn’t become an order, we delete it and its files after 6 months.
Not directly: you need a 3D model first. Look for a ready-made model, design a simple part in free software, or give the photos and measurements to a designer. Once you have the file, send it to us and we’ll print the part.
On Printables, MakerWorld and Thingiverse, or all at once through Yeggi and 3dsearch.net. Search by brand, model and part name. Check the dimensions and the model’s license.
Tinkercad in your browser, Onshape Free for non-commercial projects that are public, or FreeCAD, which is open source and also exports STEP. Work in millimeters.
STL, OBJ, 3MF and STEP, up to 5 files, 20 MB max each, through the form on our Contact page. Say that the file is in millimeters.
Better than PLA, because it doesn’t soften until about 70 °C, while PLA softens around 55 °C. Over months of direct sun, light and clear colors can yellow and the part can slowly get weaker. A car is the tougher case: in an Arizona State University study on hot summer days in Arizona, a dashboard in the sun averaged 69 °C within an hour, right at PETG’s limit, so a part there can soften, especially a dark one; in the shade, dashboards averaged 48 °C.
We reply within one working day with the price and the timing. Once you accept the offer, making the part usually takes 1 to 2 days: we print on two printers, and if one is free we start the same day. A bigger or more complex part takes longer. We ship by courier anywhere in Bulgaria, and in Sofia we can also bring it in person.
Have the file? Send it to us.
Products
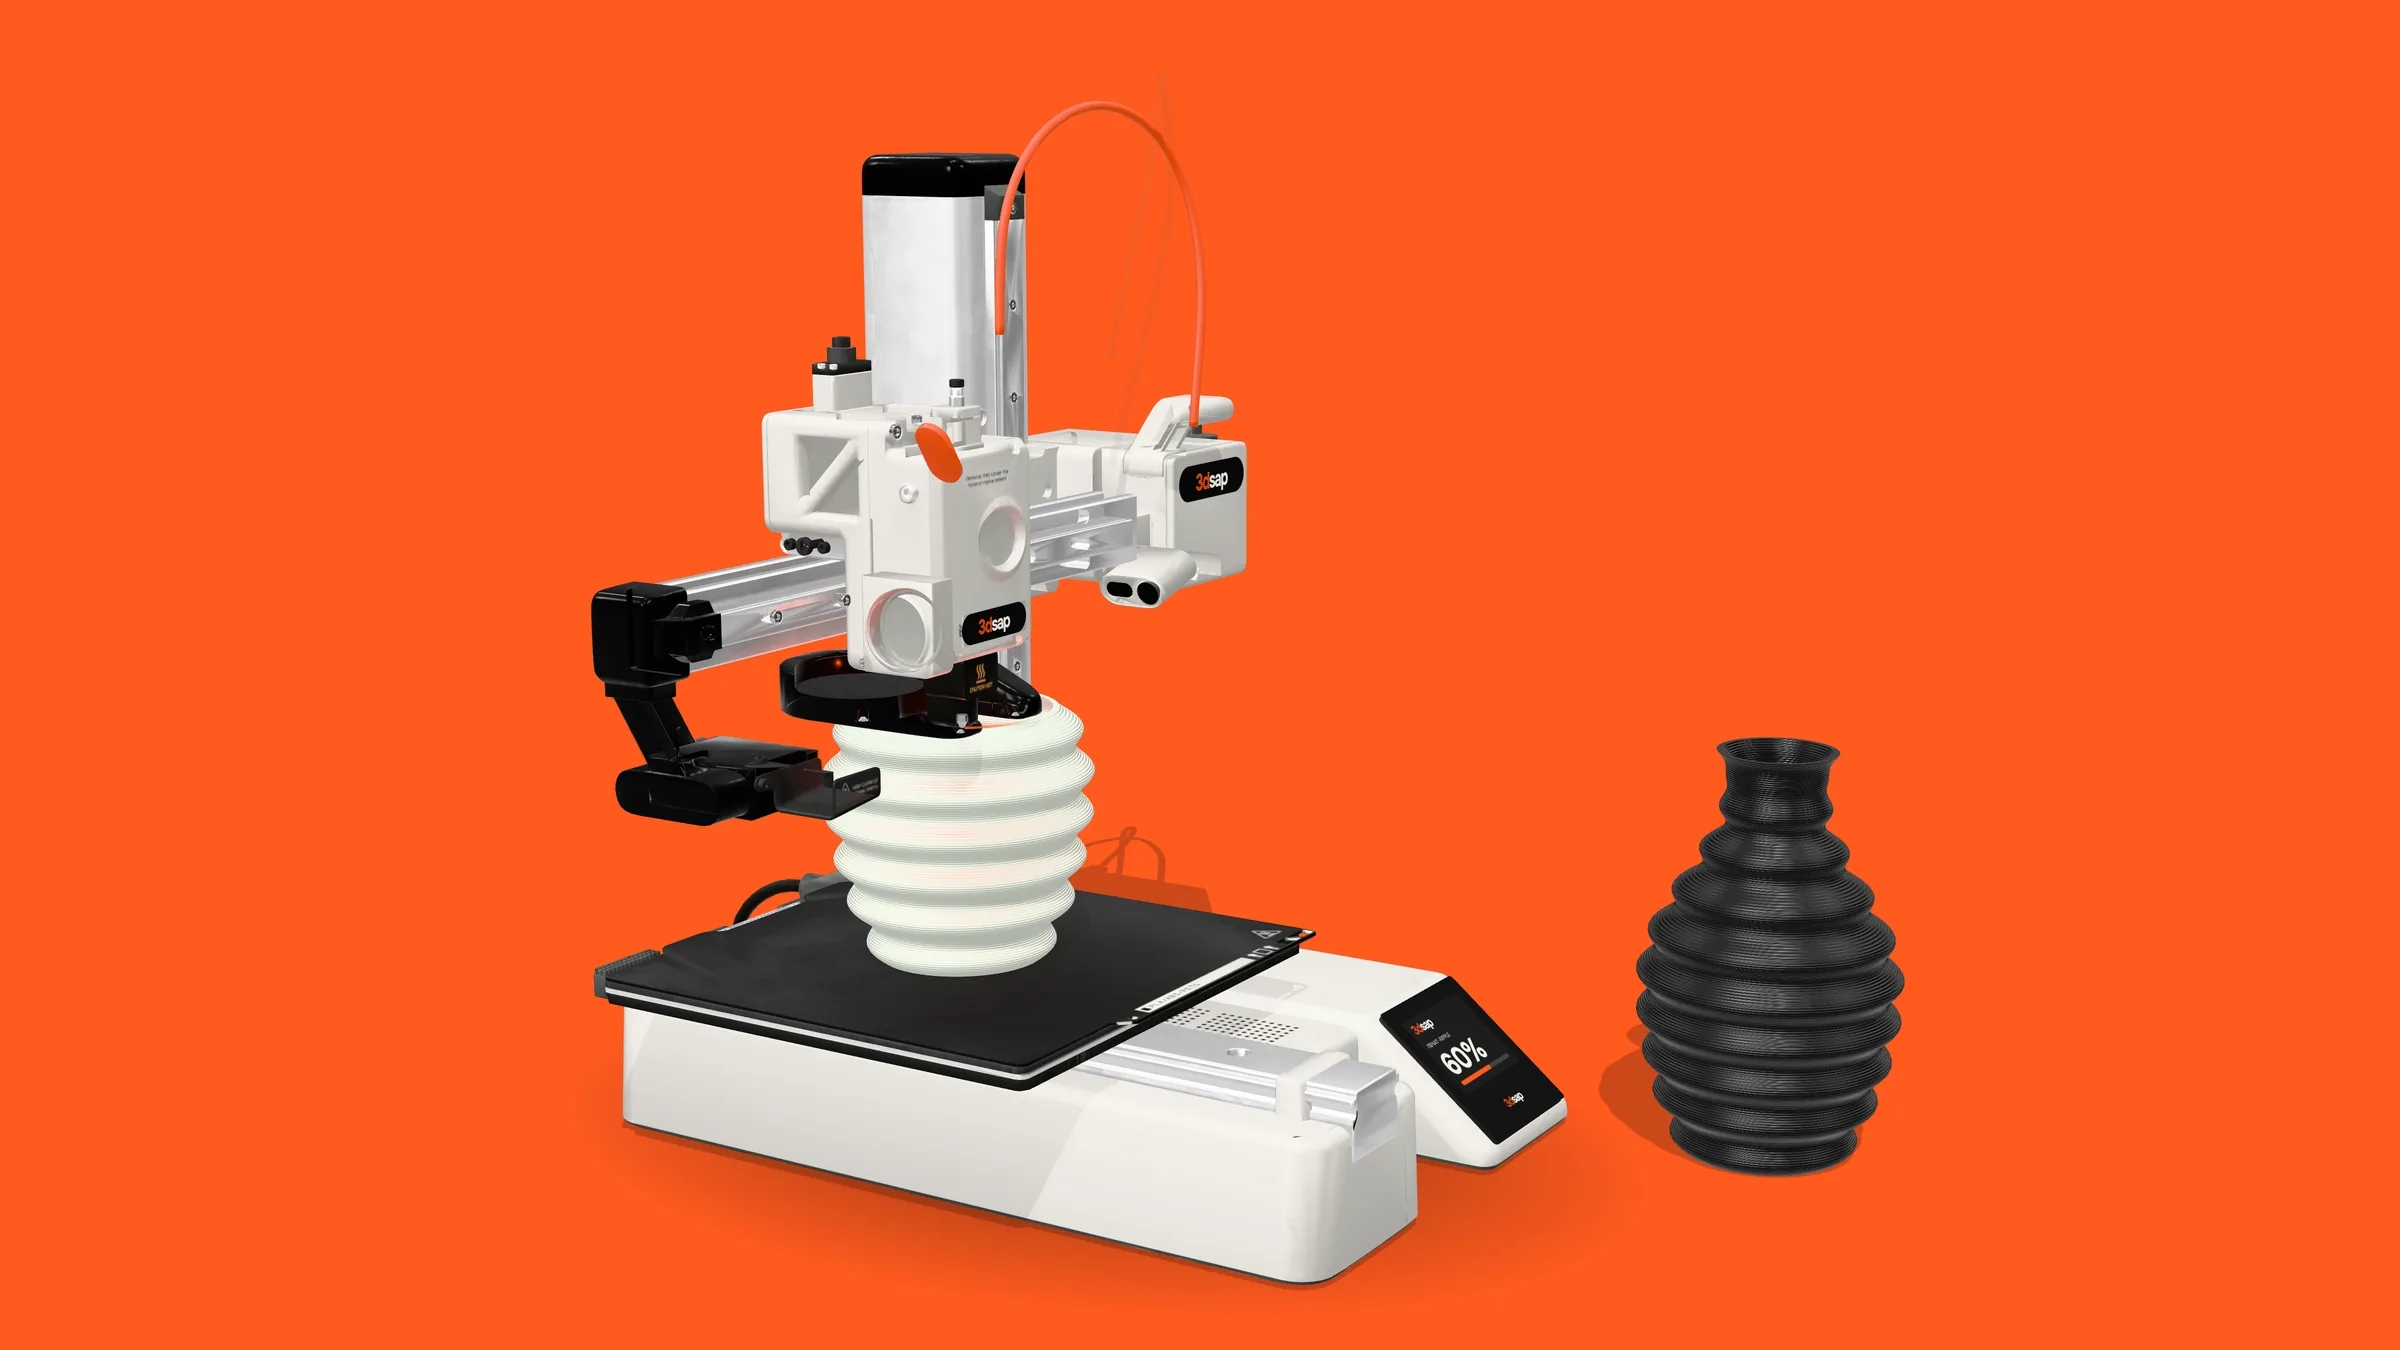
The slicer sets the walls and layers, and the printer lays them down line by line. Whether a 3D printed vase holds water depends mostly on the walls and the seam.
Read the article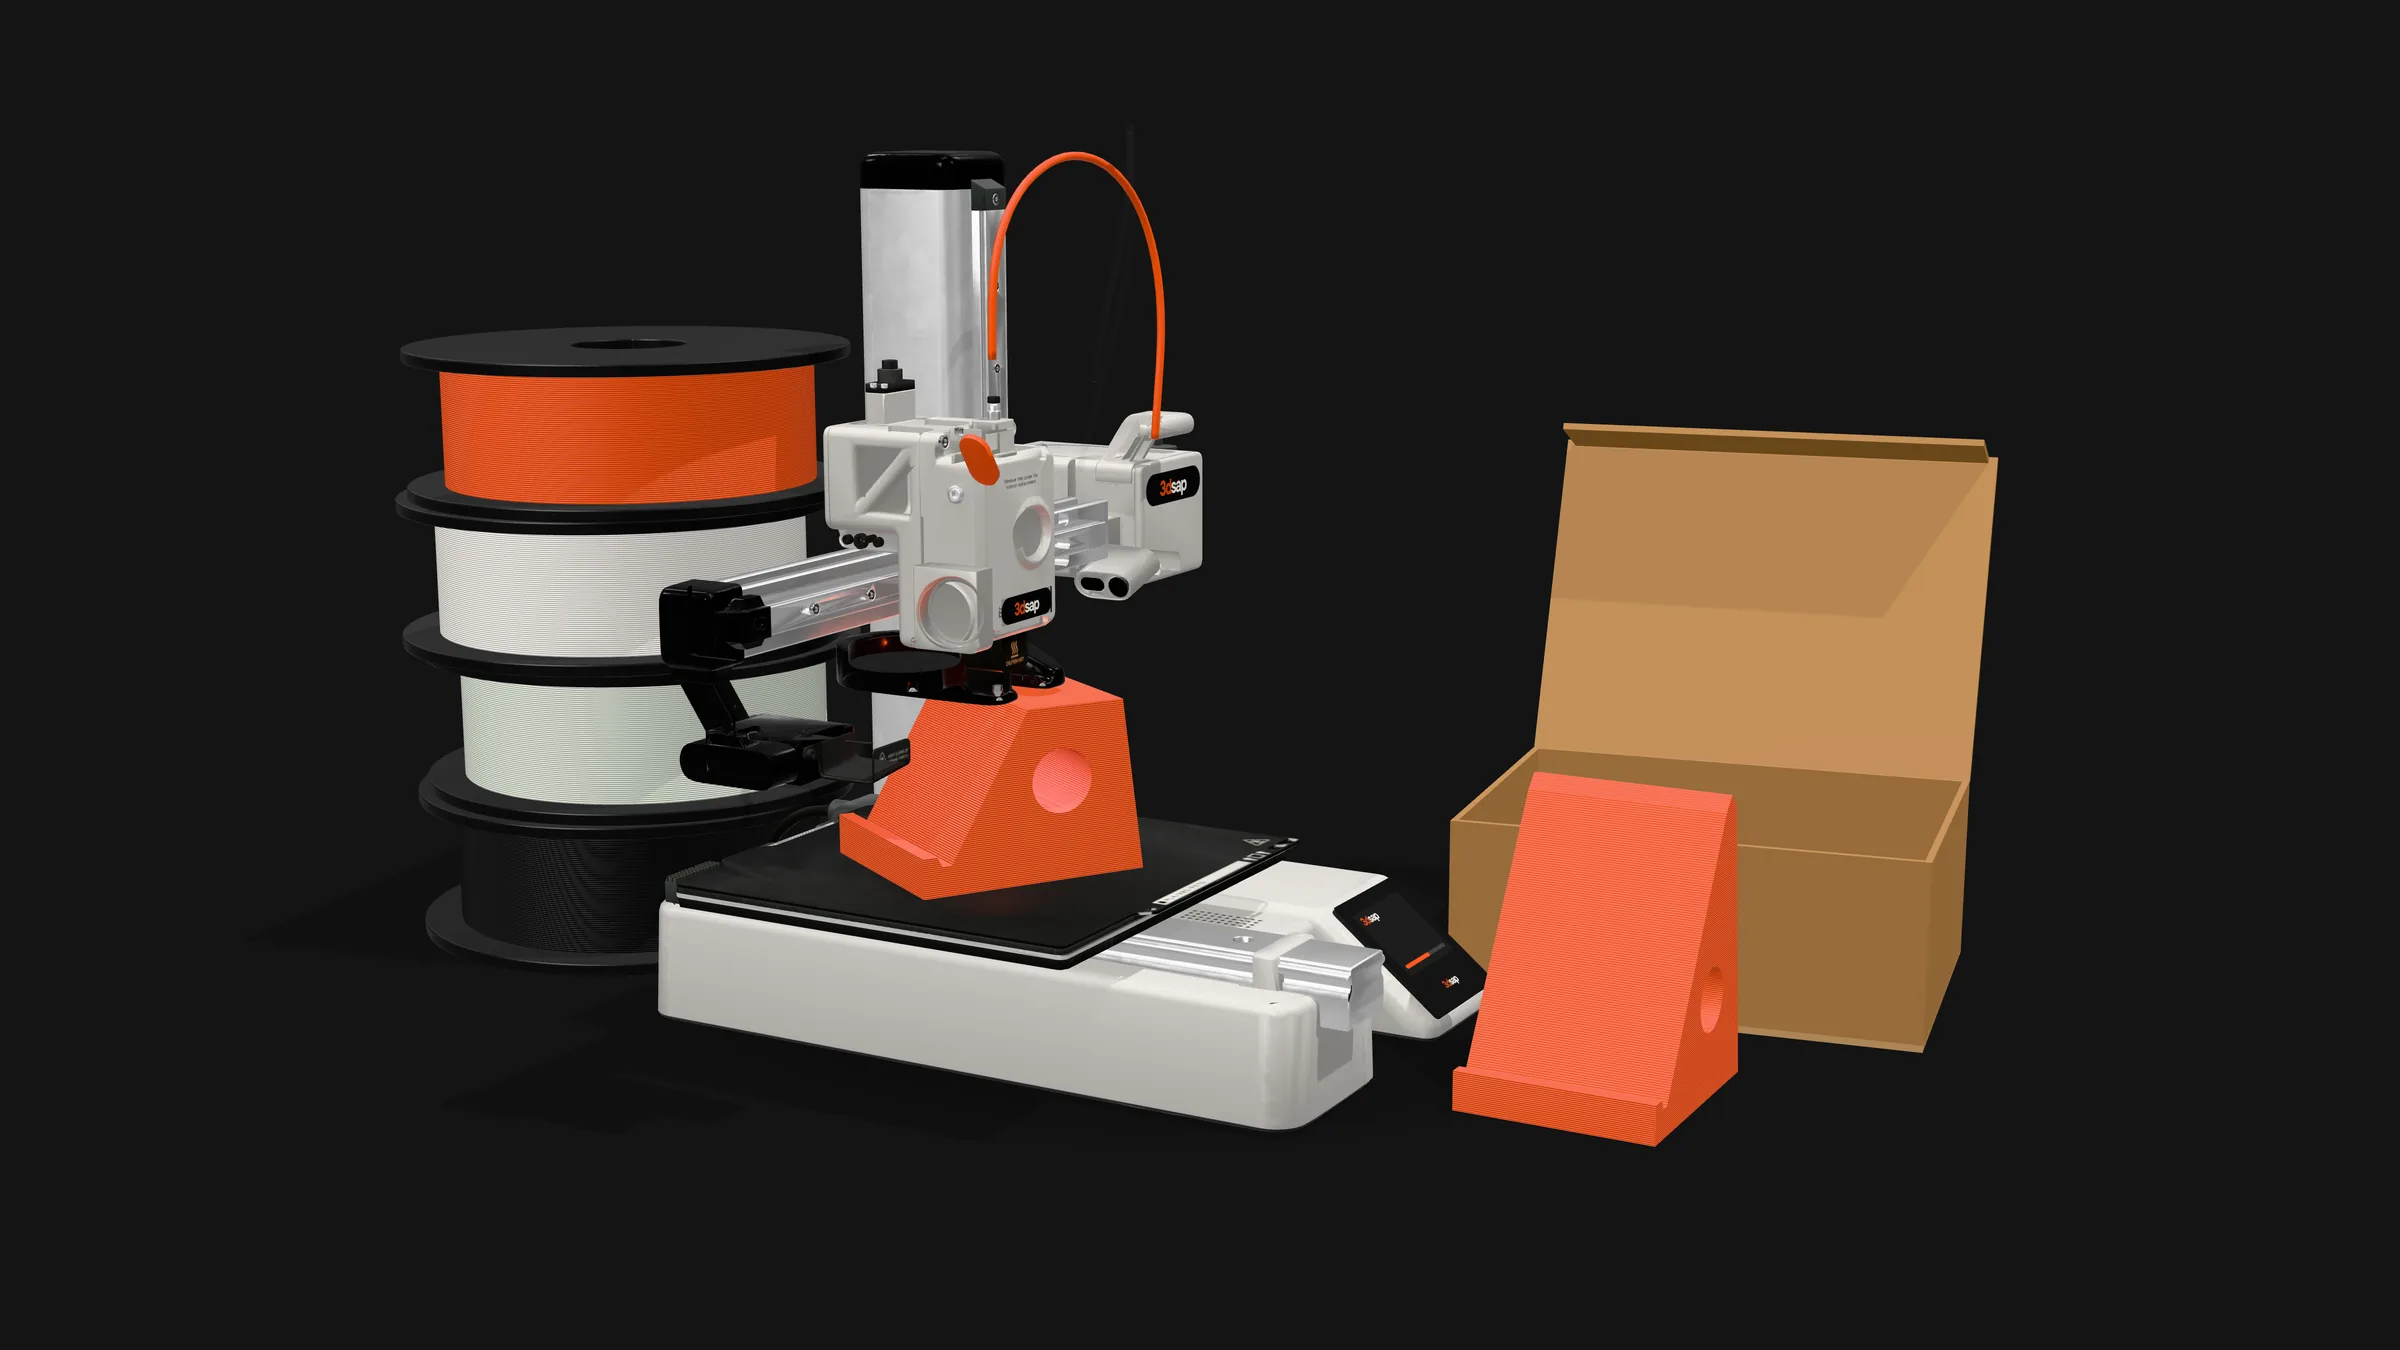
Euro prices for the two printers we print on, what filament, power and upkeep cost, and when it is simpler to order the object itself.
Read the article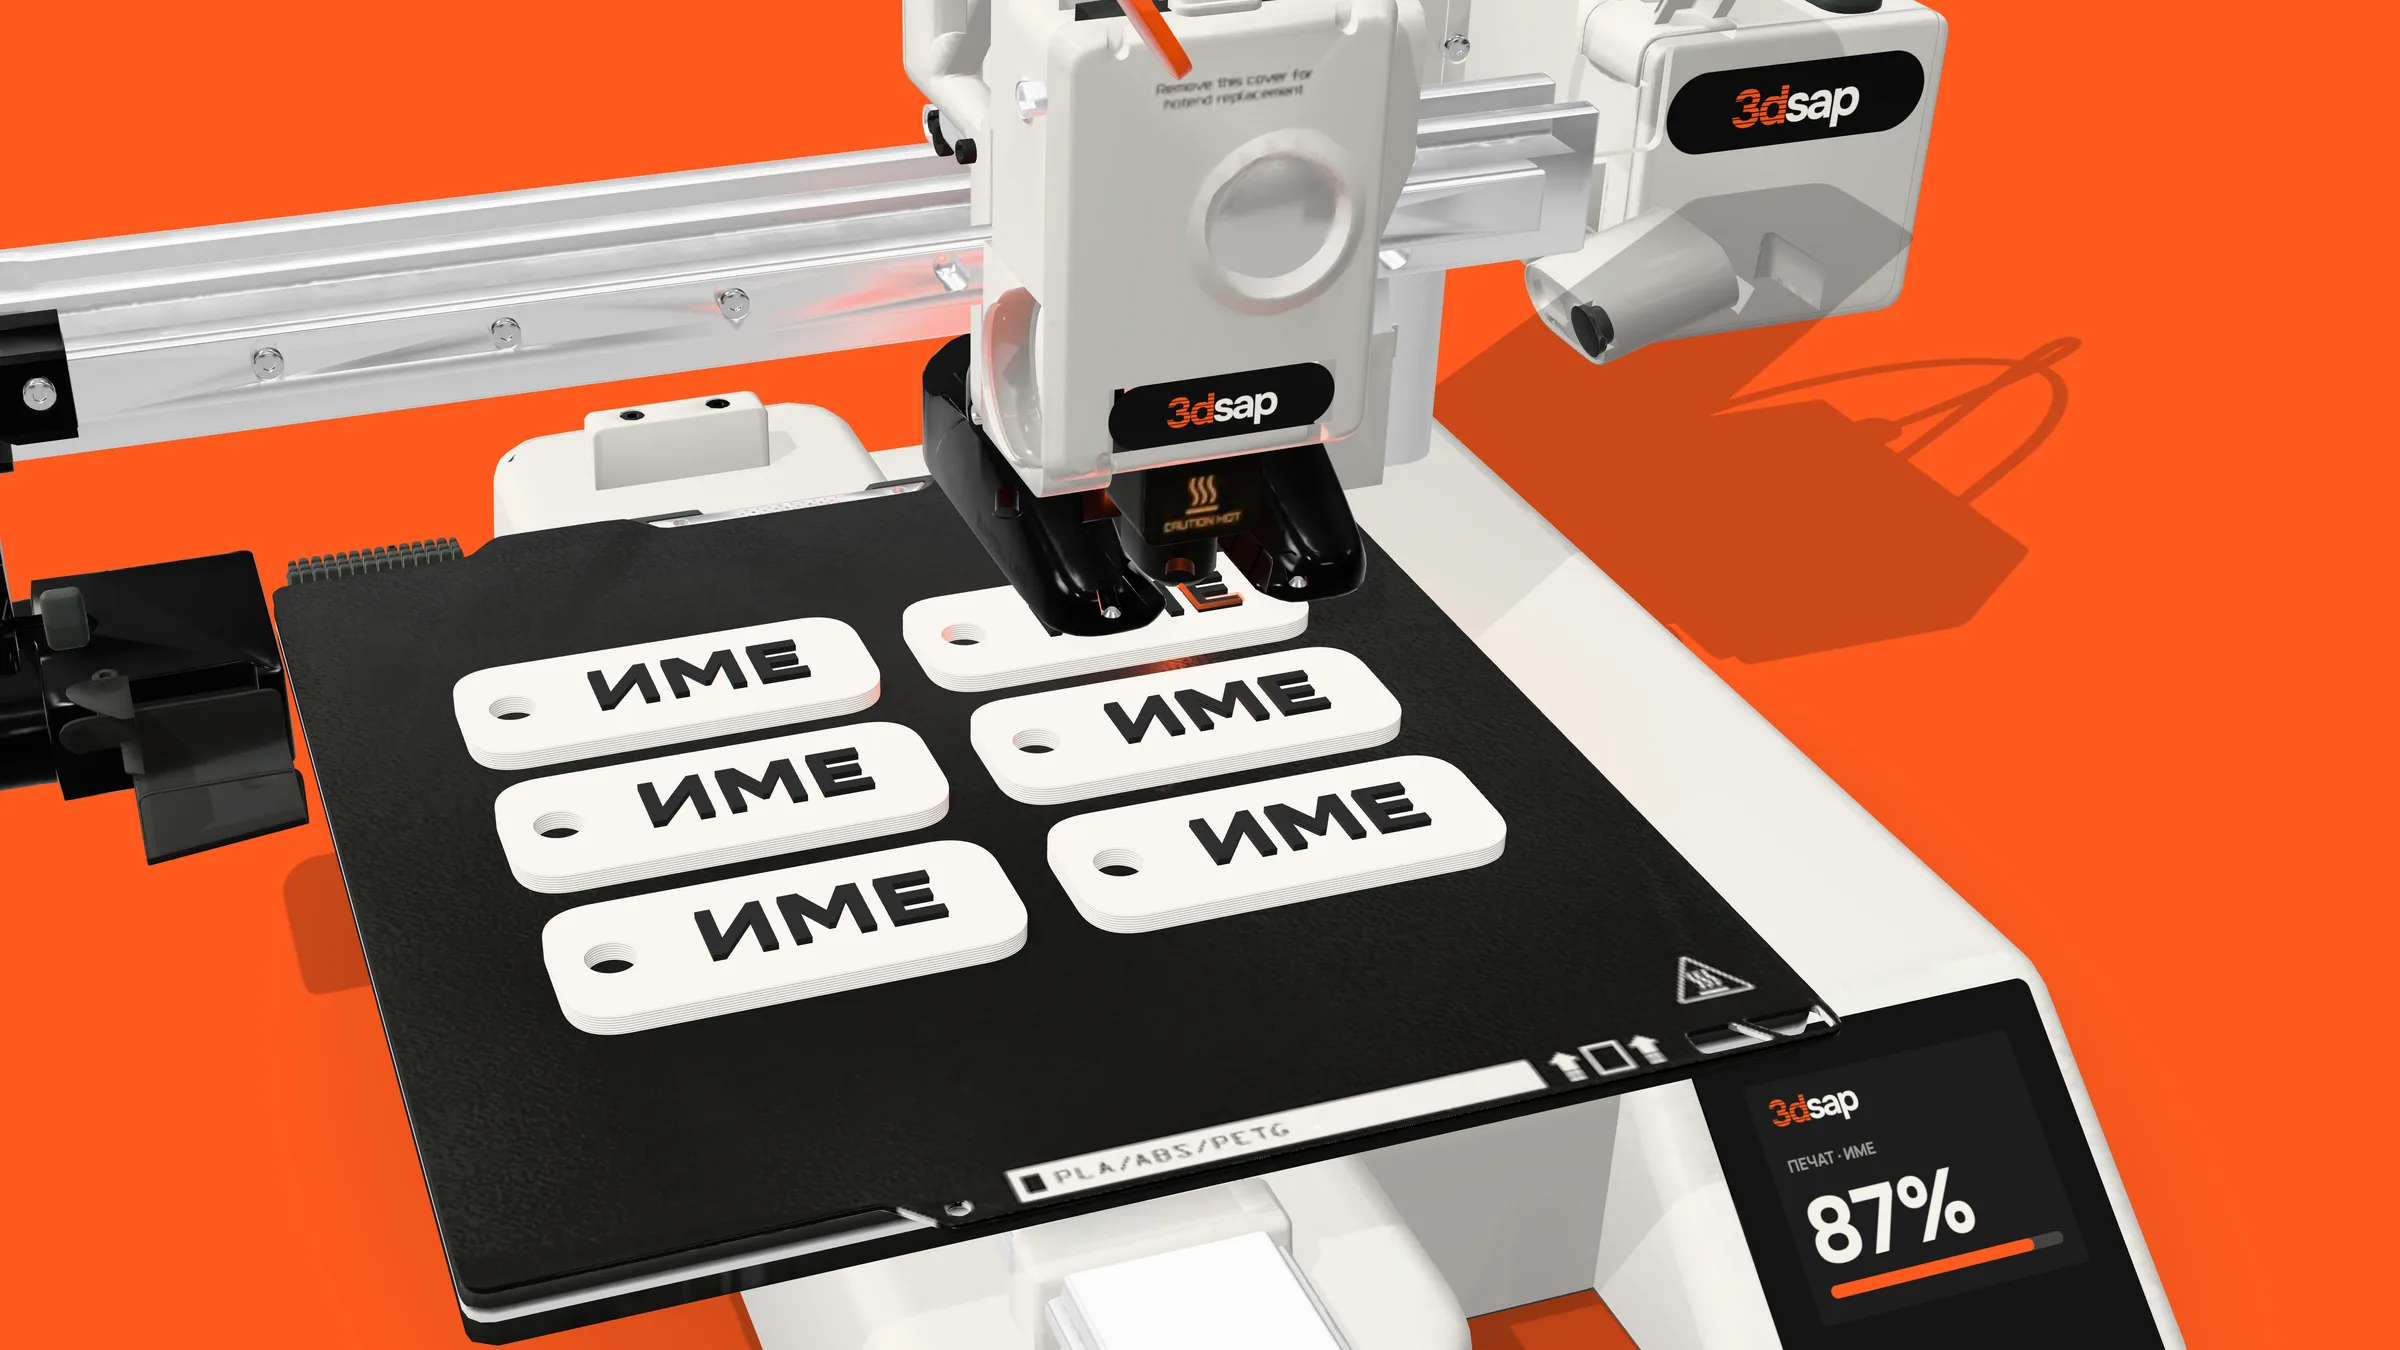
A name in Cyrillic, up to 4 colors in one piece. How the A1 mini with the AMS lite switches colors, which material lasts outdoors and in a car, and what to send us for a quote.
Read the article